Home About Us Weekend scene Outfits DIY Nifty Thrifty Sponsors Image Map
Showing posts with label DIY. Show all posts

Saturday, December 8, 2012

Simple Exfoliating Facial

Morning all!
Today we have plans to go out on the town and celebrate one of our friends 25th birthday! So excited about this, this momma needs a break! I love my girls, but it's alright to give yourself that time so you can keep your insanity sometimes, well that's how I feel anyway ha ha.
 
I want to do a quick post on my go to exfoliating facial. 2 ingredients and super easy, leaves your face soft and glowing!
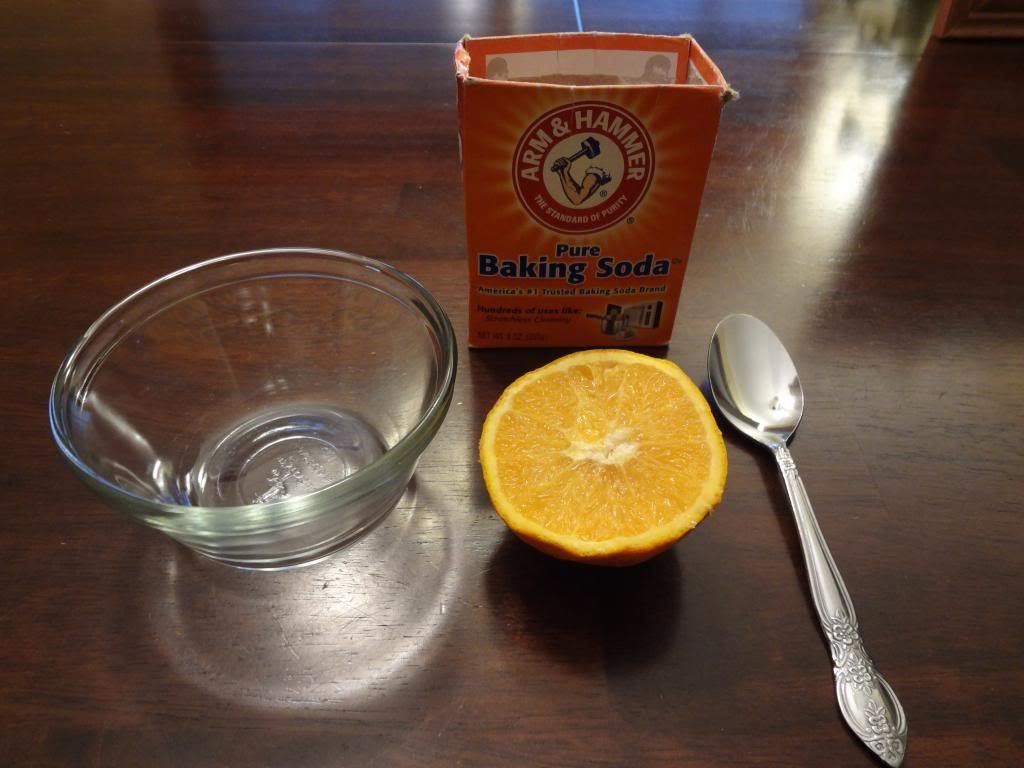
 
 
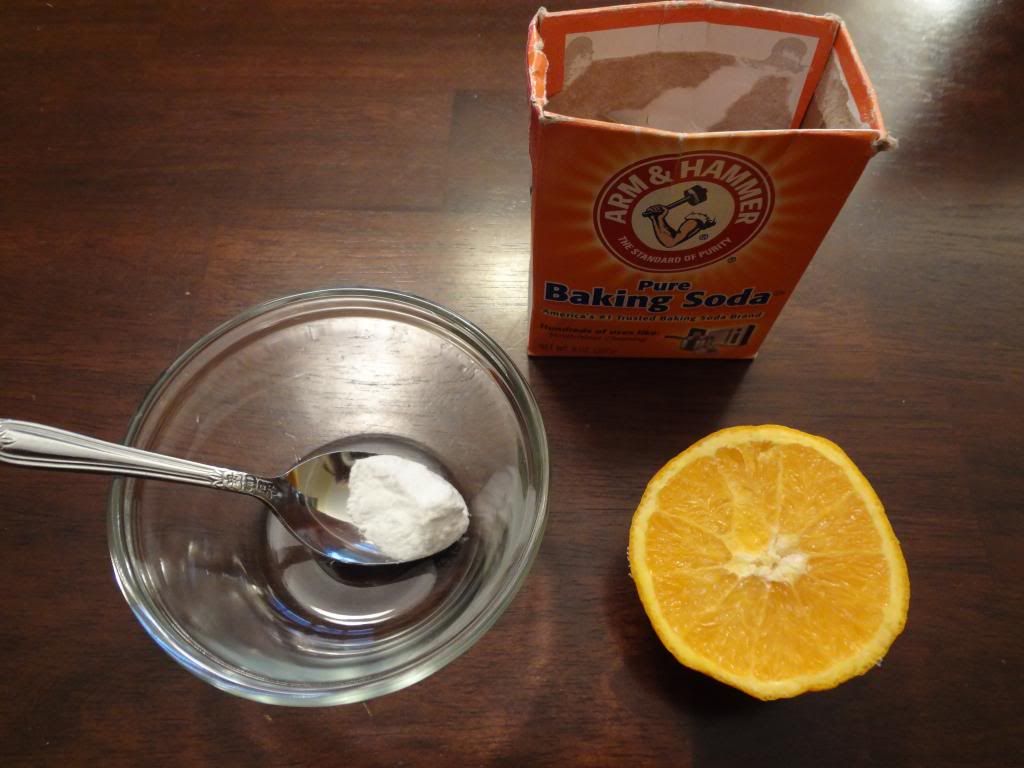
*What you need*
Baking Soda
Orange
Spoon
Bowl
Place a bit of Baking Soda into bowl
I don't measure anything, I just add as needed
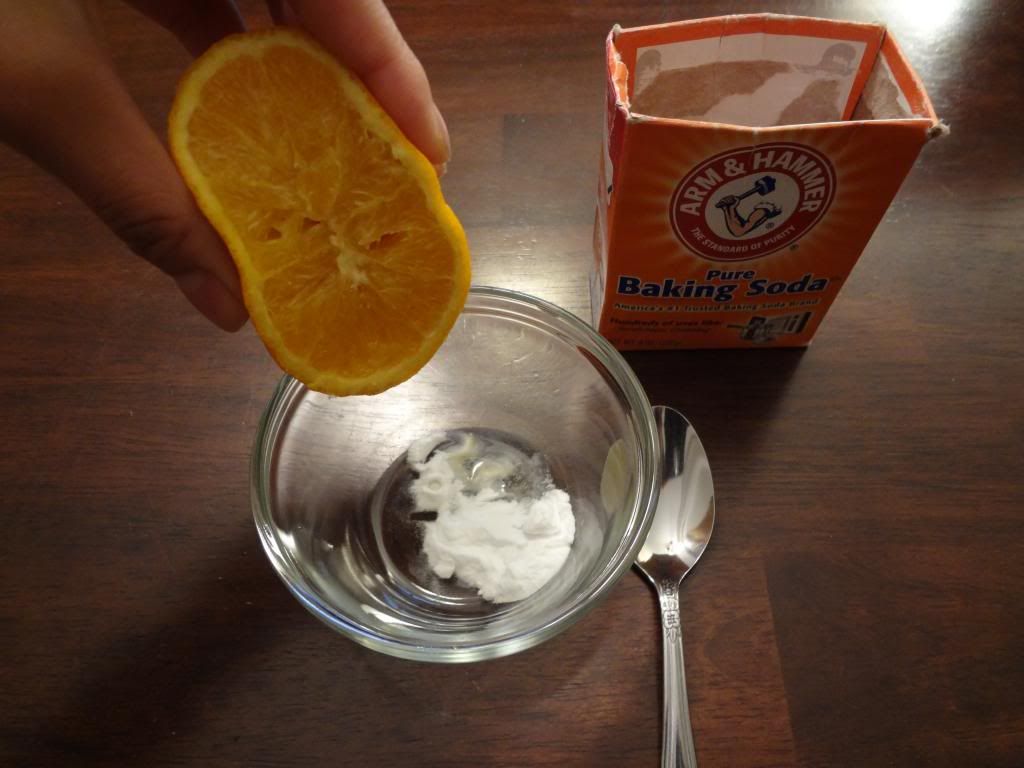
Squeeze a bit of orange juice in and mix
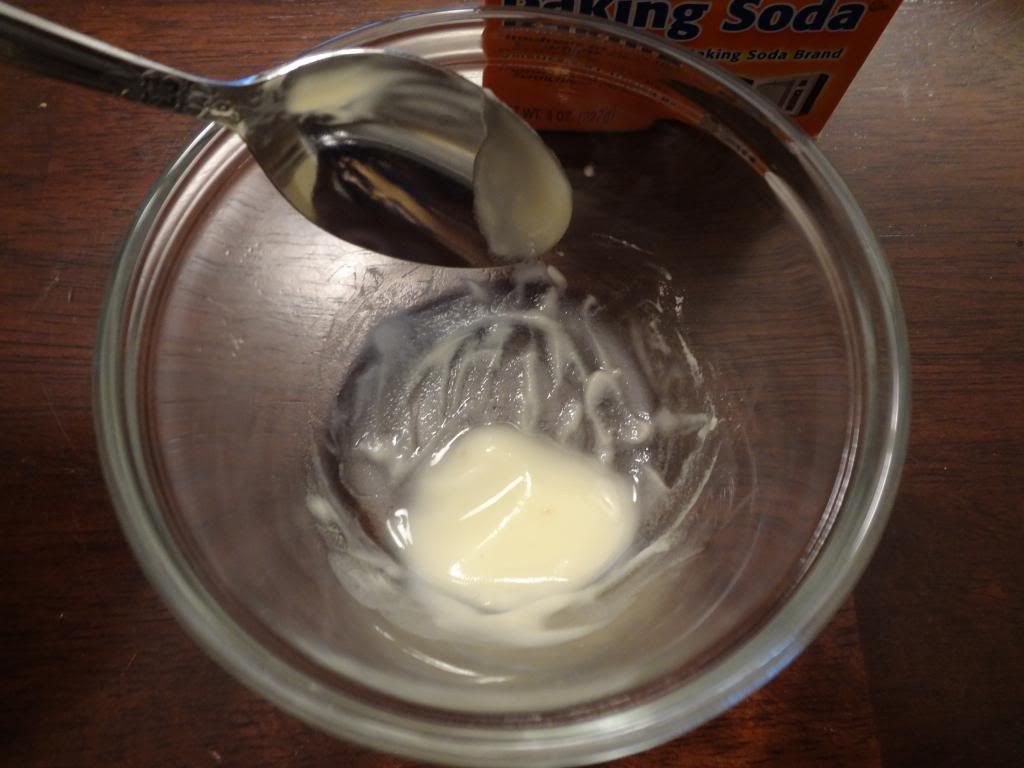
Keep adding juice until at the right consistency
I make mine a bit thicker
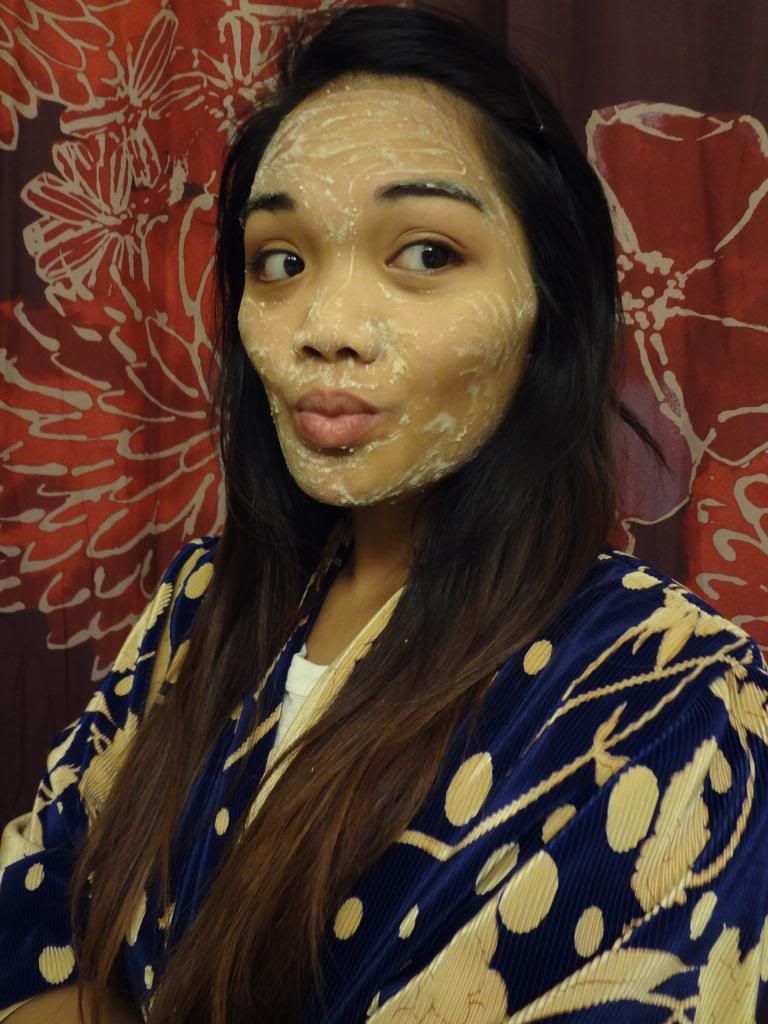
Put on face and let dry (about 10-15 minutes)
After dry wet fingertips and scrub, this will remove dead skin
Rinse with warm water
I like to rinse with cold water afterwards
Left is before (sorry a bit blurry)
Right is after
Make sure you put your moisturizer on afterwards!
Source: Here


Tuesday, December 4, 2012

DIY Beanie Tutorial


How to make ⇧that beanie
From ⇩ this sweater


*What you need*
Old sweater (thrifted this XL sweater for $3.00)
Fabric glue or needle and thread
Measuring tape
Scissors


First measure how long you want your beanie to be
I made mine a bit slouchy so I measured 10 inches
Also, be sure to leave at least 1 inch for gluing/ sewing


Cut across
 
Cut a side seam to make 1 long piece

 
Measure the circumference of your head
Take your measurement and cut your fabric


Fold your fabric like so


While still folded
Cut the top of the fabric in a curve shape
Unfold
Fold in half with the inside of the beanie facing outward

Glue/sew together the edges
(glue will be placed on the outside of the beanie)
Let dry


Friday, October 19, 2012

DIY: T-shirt Scarf

This project is super simple and can be done with a couple things you probably have around the house. I decided to make this for Mally, so I used one of my old holey extra small shirts.


*What you need*
T-shirt: the smaller the shirt the better fit for children
Sissors

Cut just under armpits

Cut several strips down the shirt


Stretch the strips
Gather strips, making sure seam are together
Cut 1 strip to make a long piece
Twist the strips once to make a figure 8
 
Fold together both ends to make a circle
All seams should be grouped together

Tie the end of the long strip right above the seams


Loop the strip around and through the hole, pull tight
Do this step until the strip is completely covering all the seams
Tie a couple knots at end and you can either cut the loose fabric or tuck it in


This is your end product


Tuesday, October 9, 2012

DIY: Boho boot

Hey all!
Here's my take on the belted boho boot. I went out Saturday and found some vintage boots at the thrift, I originally wanted a pair of brown boots but saw these little red beauties and thought they would work perfectly. You can most definitely do this project on a newer pair of boots, but my own personal style leans toward the vintage distressed type. I found these boots, a couple of belts, lace and some fabric all out thrifting on Saturday! I ran home and started my project ASAP, it took me the whole day, but I was able to wear them out to the pumpkin patch on Sunday. I was excited to receive many compliments! If you would like to set yourself up with a pair, I posted a tutorial down below.
Happy creating my friends :)
 
WHAT YOU NEED:
BOOTS: Boots should be leather inner and outer
BELTS: vintage, new, big buckles or not... whatever you wish!
GLUE: any type of strong fabric glue make sure it dries clear and adheres to leather
SCISSORS
PLASTIC KNIFE: or any type of of flat tool for gluing
CLOTH & LACE: here's where you can get creative. I used some lace like material to place along the base of the boot, but you can use whatever your personal style prefers scarves, lace, fabric etc. And we'll using fabric to make strips for layering
First, take your boot and cut down the middle of the back
Stop right above the back of the heel
Be careful not to cut too low, you don't want to cut past where the scissors point


Fold down the shaft flaps


Start wrapping your belts
You may need to play around with them for a while to get them perfect
Switch them around, turn the buckles, pull them tighter, make new holes
Anything to get them to work together, think of it like a puzzle 


Once your belts are positioned the way you want
start gluing
Place small amounts of glue on the knife
Separate the belt and boot and spread the glue onto both parts
Trying not to get it towards the bottom of the belt (we'll need that area for gluing the lace)
Do this in small sections until all belts are glued to the boot
 
Next grab your lace
Lace will fill in the spots where the belts don't cover the boot leather
Start measuring out how much lace you'll need
Beginning at a buckle, take a clean plastic butter knife (or any disposable flat tool)
and push the lace under the bottom of the belt, do this until the lace wraps around and meets the end you started with
Cut lace, make sure you leave a bit of slack to overlap at the end
 
Next glue the bottom of the belt down but this time be extra cautious of the lace
Even if you have clear drying glue you will want to try your hardest to not get it on the lace
It may work easier if you use a glue gun with fabric sticks on this part


Now we'll be adding more textures and layers
Cut a strip of fabric
Depending on how wide around your boot ends up being and what type of material your fabric is
Your strip may be from up to 8 inches or longer
Tie both ends of the strip together to make a circle, stretch your fabric a bit and put around boot (shown above)


You're done!!
Since my boots were red and I'm a fan, I added a Razorback to my boot
I couldn't find anything at our local store that would work
So I ended up grabbing duct tape with a razorback on it, ha ha! As cheesy as it looked, it worked for a day.
Thanks so much for reading and I hope your boots end up fabulous! If you have any questions please comment below. Also, if you end making a pair for yourself, comment with your link so I can see your awesome boho boots :)
Don't forget to follow

Thursday, September 20, 2012

A Swashbuckling Good Time!

Well, Mally turned 3. Like every other year we had a big birthday party, the only difference this year is that she is more vocal about what she wants and what she doesn't want. What does she want? Well, pirates of course! This year I intended for this party to be somewhat simple, stress free and well, let's be honest... cheap. All of that went out the door at the start, after all what's a pirate party without all the necessities pirates, a ship, a plank and pirate food! It didn't end up breaking the bank, we thrifted our outfits and you'd be surprised at what you can do with some cardboard and spray paint! Although, when you're a procrastination specialist like me, you can be sure of rough seas ahead. Luckily for me I work awesome under pressure :)  Wednesday I started painting the decor and pulling together or outfits. Thursday was Malaya's actual birthday, so we focused on the girls all day. Matt was off of work and we headed out of town to get our bounce house on! We all had a blast for a couple of hours for only $5.00, can't beat that. We were able to stop by Party City and pick up party supplies. Friday we picked up a refrigerator box from our local Home Depot and got to work on our pirate ship, I also made the cakes that night. Saturday, out of some miracle we pulled everything together and had us a pirate party, even the rain couldn't stop us! In the end it was A LOT of time consuming work for a party that lasted only a couple of hours... but creating good memories for our girls lasts a lifetime and that's all that matters. ARRRR!!


So hard to believe she's grown so much


Silly Face Pose


She wanted pancakes :)


Another one bites the dust
Cap'n Malaya and her first mate


ARRRUGGHH!?!


WOO PIG SOOIE!